Xamarin.Android Making Splash Screen
Contents
Mobile apps take some time to start. Especially when an application runs on the device for the first time, the user waits for a while before the home page opens. So how should this waiting period be evaluated? By showing to the user Splash Screen, you can increase the user experience and show brand information.
At the end of this article, you will learn how to make the splash screen in your Xamarin projects in the most correct way. You can reach the result in both portrait and landscape mode by applying the steps in order.
So let’s get started.
What is Splash Screen (Launch Screen)?
The high user experience in a mobile application actually means how successful the application will give. So it would not be wrong if I say that mobile application consists of UI. Splash screen is also a user’s first experience with the application. Therefore, the splash screen is a must for a mobile application
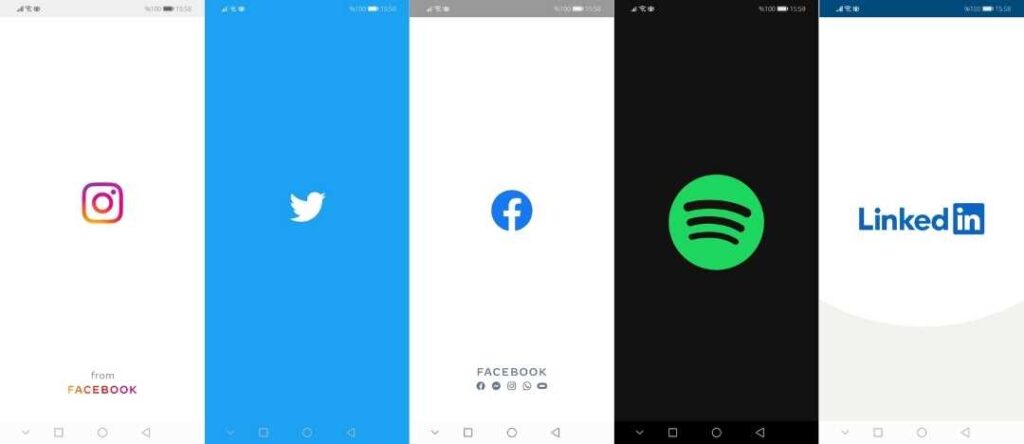
In fact, it is possible to see splash screens in almost all social media applications. While opening the applications we use frequently such as Facebook, Twitter, Instagram, Linkedin, a screen welcomes us before the home page. If you noticed, these splash screens are designed to reflect the brands of those applications.
How Should the Correct Splash Screen Be?
There are several ways to apply the splash screen. In this article, I will show you how to do it the right way. This is how I do it in the applications I have developed.
First define the background color of the splash screen in the Resources/values/colors.xml file.
<resources>
  <color name="splash_background">#eff1f7</color>
</resources>
Then select the logo you want to show and import it into the Resources/drawable folder. If possible, make the background color of your logo transparent. So you get a better view.
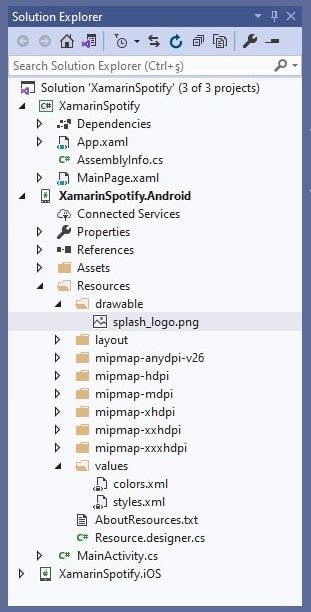
Then Resources/drawable file to show on the Splash screen
create an XML drawable in it. Add brand logo and background color etc in this XML.
<?xml version="1.0" encoding="utf-8"?>
<layer-list xmlns:android="http://schemas.android.com/apk/res/android">
  <item>
    <color android:color="@color/splash_background"/>
  </item>
  <item>
    <bitmap
        android:src="@drawable/splash_logo"
        android:tileMode="disabled"
        android:gravity="center"/>
  </item>
</layer-list>
Next, create a custom theme for the Splash screen in Resources/values/styles.xml file. While creating this theme, change the color of the areas such as statusBarColor, navigationBarColor with color tones suitable for your brand.
<style name="SplashTheme" parent ="Theme.AppCompat.Light.NoActionBar">
    <item name="android:windowBackground">@drawable/splash_screen</item>
    <item name="android:windowNoTitle">true</item>
    <item name="android:windowFullscreen">true</item>
    <item name="android:windowContentOverlay">@null</item>
    <item name="android:windowActionBar">true</item>
    <item name="android:statusBarColor">@color/splash_background</item>
    <item name="android:navigationBarColor">@color/splash_background</item>
  </style>
Finally, add an Activity that shows the Splash screen. Apply your own custom theme to this event. And start the MainActivity activity in the onCreate() method. And this event
Change some properties of the [Activity] attribute as follows.
1 Set the MainLauncher property to true. So when the application first runs, the user sees the splash activity until the MainActivity is opened. Of course, you should set the MainActivity and MainLauncher property to false.
2 Also replace the Theme property with the theme name you have created as follows. You have already created a special theme for this event.
3 Set the NoHistory property of Splash Activity to true. This place is very important. Because if the user presses the back button while in MainActivity, it returns to the splash screen. This negatively affects the user experience. You can prevent this by making the NoHistory property true.
    [Activity(Label = "Weather", Theme = "@style/SplashTheme", Icon = "@drawable/app_icon", MainLauncher = true, NoHistory = true)]
    public class SplashActivity : Activity
    {
        protected override void OnCreate(Bundle savedInstanceState)
        {
            base.OnCreate(savedInstanceState);
            this.StartActivity(typeof(MainActivity));

        }
    }
Now build and run the application.
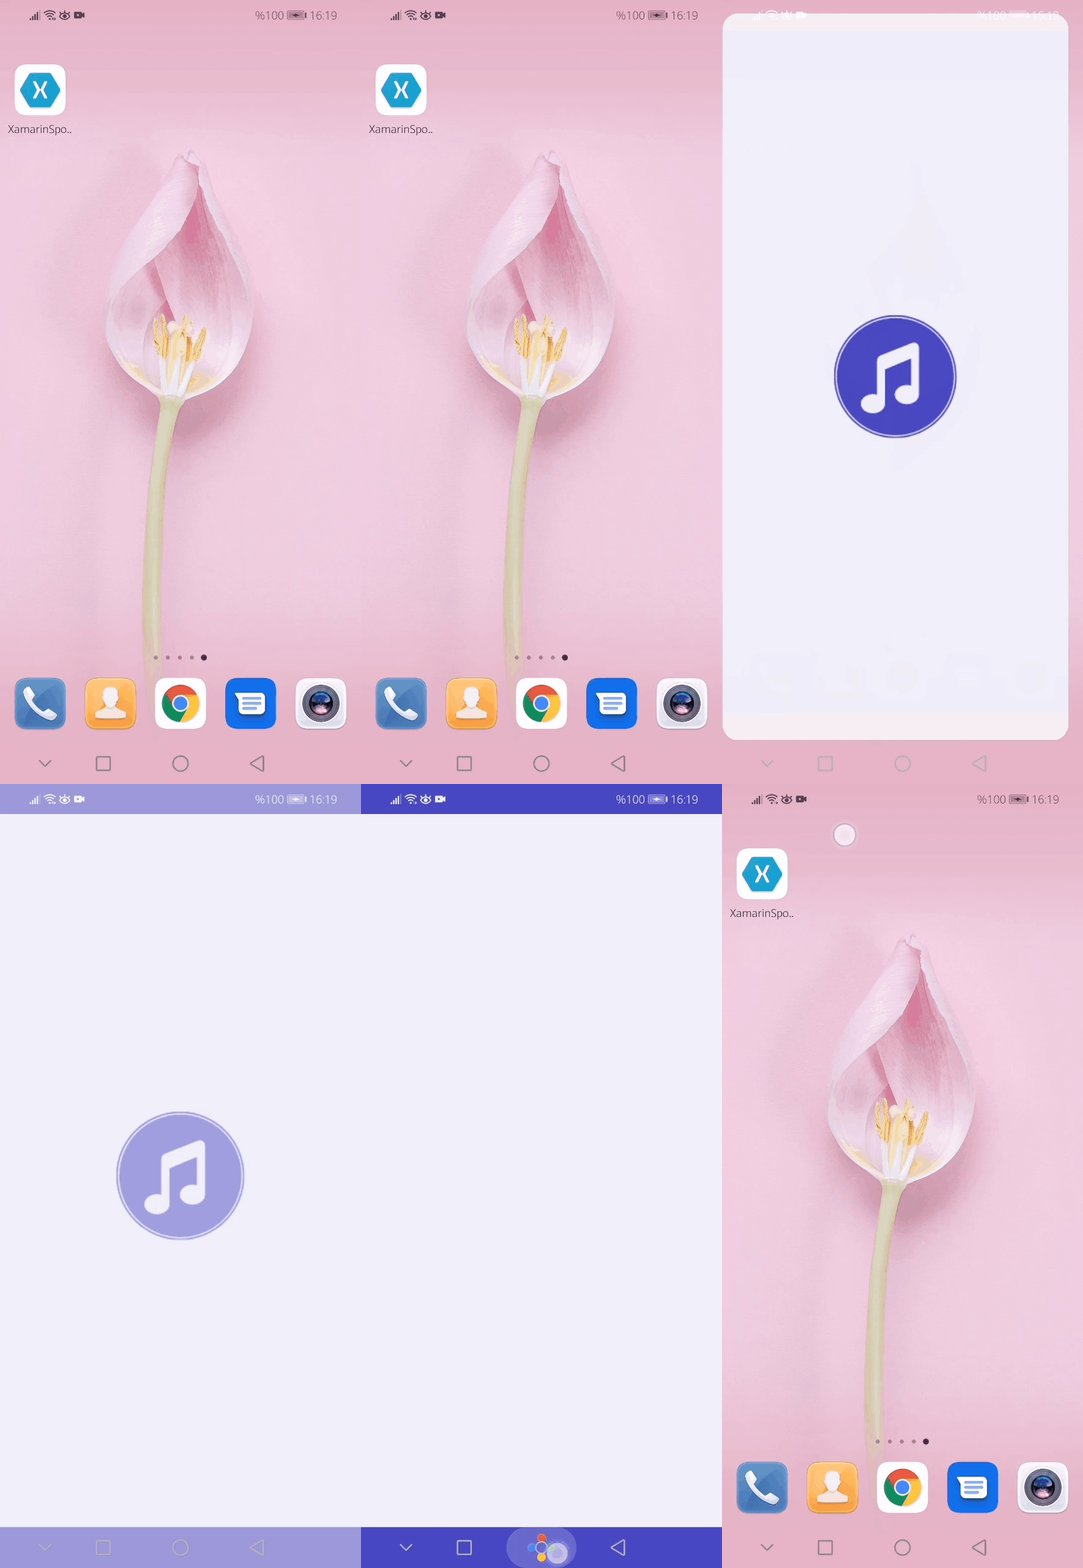
Splash Screen in Landscape Mode
If you follow the steps above, it will work smoothly both horizontally and vertically. But in some cases what will you do if you need to show a different splash screen on the horizontal screen?
To add a splash screen in horizontal, follow the steps below in order.
1 First add the logo that will appear in landscape mode inside the Resources/drawable folder. Give different names with the logo that will appear vertically to avoid confusion.
2 Then create a folder named values-land in the Resources folder. The colors.xml and styles.xml files will be in this folder, which will appear in landscape mode. So the same files in the vertical will be here as well.
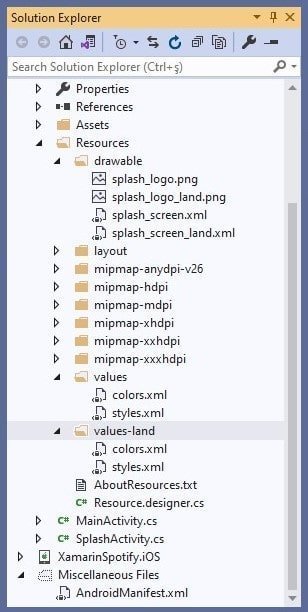
3 Copy the colors.xml and styles.xml files in the values folder and paste them into the values-land folder.
4 Then open the colors.xml file in values-land. Define the background color that will appear horizontally.
<color name="splash_background_land">#4a42bf</color>5 Then create an XML drawable again into the Resources/drawable folder. To avoid confusion, give a different name to the XML file that will appear vertically.
6 Finally, open the values-land folder again. Change the windowBackground, statusBarColor and navigationBarColor properties of the theme that will appear vertically here.
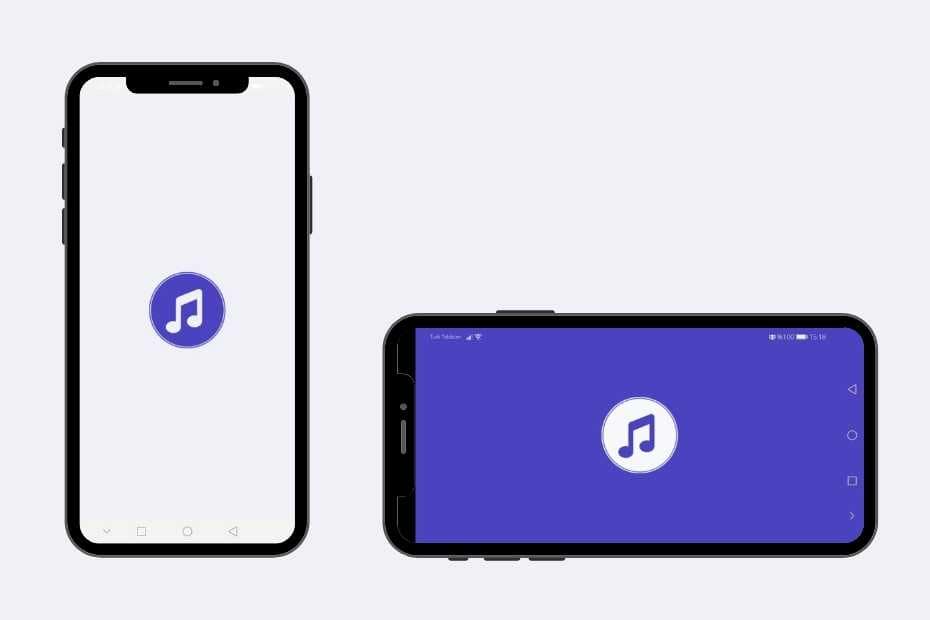
Run the application after doing all the steps. When the application is initially running in portrait mode, the splash screen of vertical mode appears. In the meantime, if you rotate the screen, your device will switch to landscape mode and the opening screen of landscape mode will begin to appear.
Conclusion
In summary, the experience of applying splash is very important. It should be aimed to increase the user experience by displaying branding information until the home page of mobile applications is opened.
It is possible to jump in several different ways. You can show an image directly as back output. However, this method does not work properly on different screen sizes and landscape mode.
I took a closer the how to make splash making in the most accurate way in Xamarin. I hope it was useful.
If you’re still not sure what to do, or if you got any errors, then I suggest you use the comment section below and let me know! I am here to help!
Also, share this blog post on social media and help more people learn.


